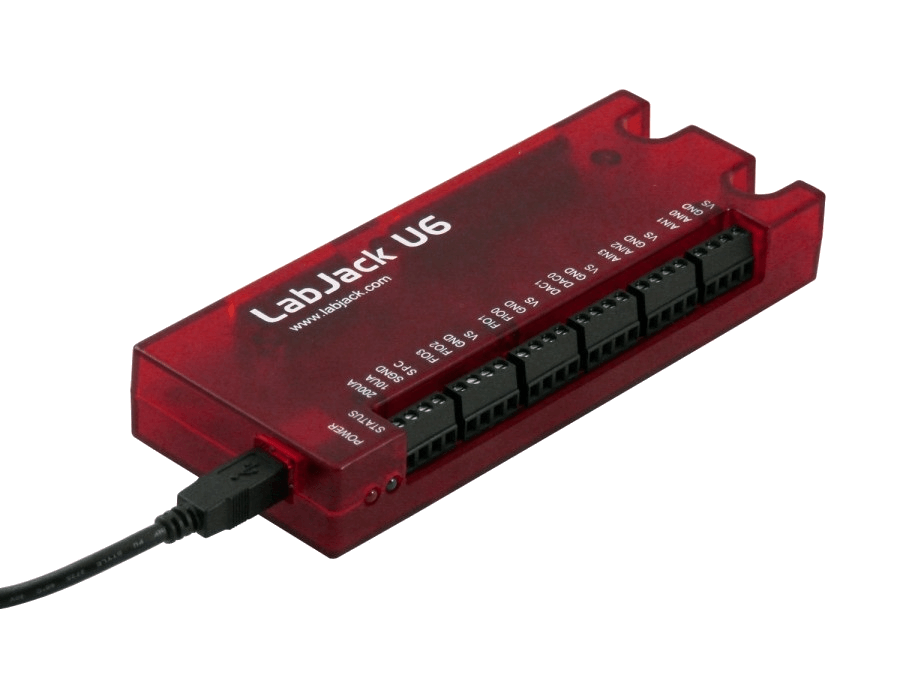
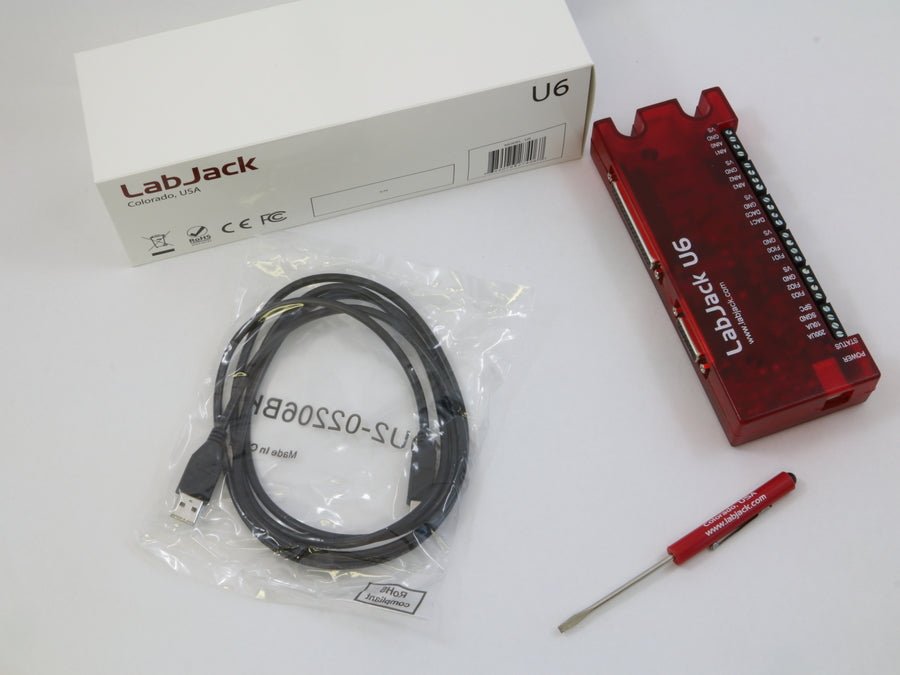


LabJack U6
Precision USB Multifunction DAQ
The LabJack U6 is great for acquiring signals from thermocouples, strain gages, bridge circuits, encoders, and nearly any sensor that outputs a voltage or current.
With instrumentation amplified analog inputs, and software selectable gain settings, the U6 provides a cost effective, USB only method to measure analog signals which can't be resolved by traditional 12-bit DAQ products. Common applications include laboratory research, industrial control and monitoring, and prototype development.
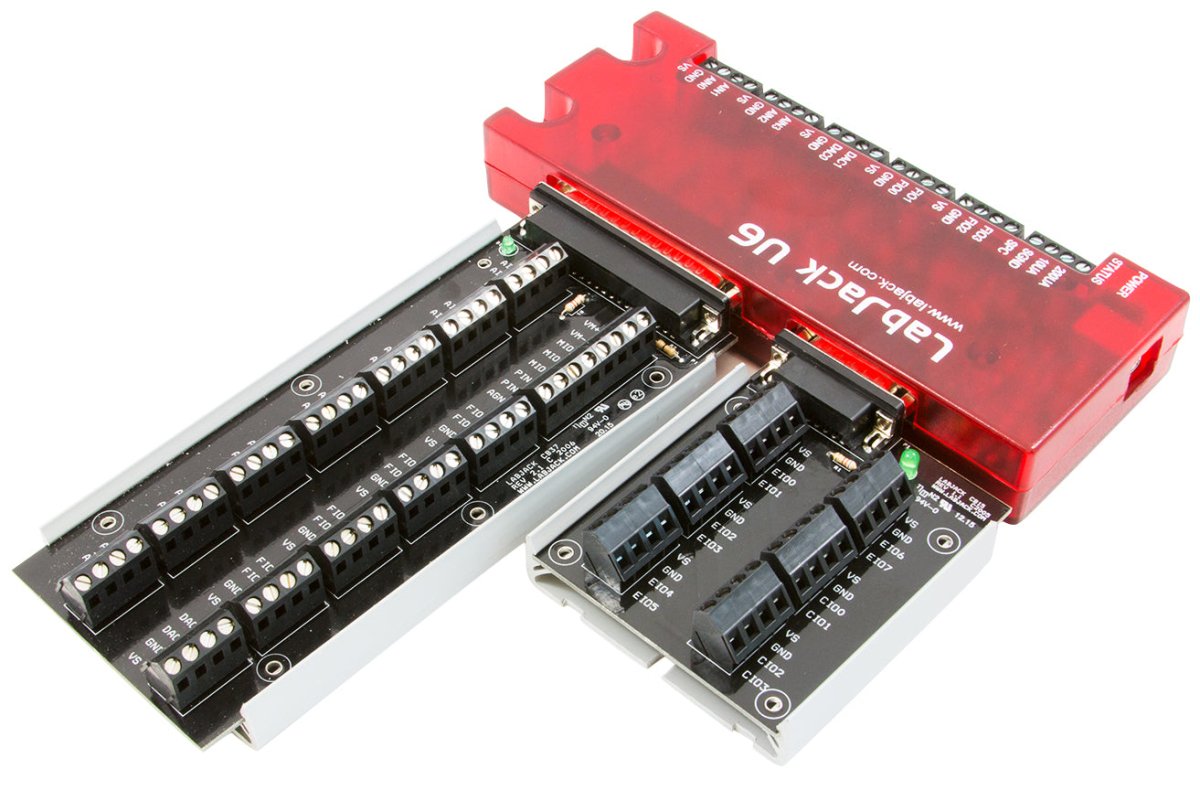
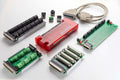
- 14 Analog Inputs (16-18-bit) expandable up to 84 AINs using Mux80 Expansion board
- ±10V, ±1V, ±0.1V and ±0.01V Voltage ranges
- 20 Digital I/O lines, 2 counters, and 4 timers
- 2 analog outputs (expandable using LJTick-DAC)
- Directly connect thermocouples, load cells, RTDs, and more …
- Industrial temperature range (-40 to 85°C)
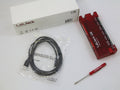
- Free applications to configure, test, and log data to file
- Free examples: C/C++, C#, Python, Java, LabVIEW, MATLAB, VB.NET and more...
Consider the U6-Pro for applications requiring more than 16-bit analog inputs.
Stock status: In Stock
Stock status: In Stock
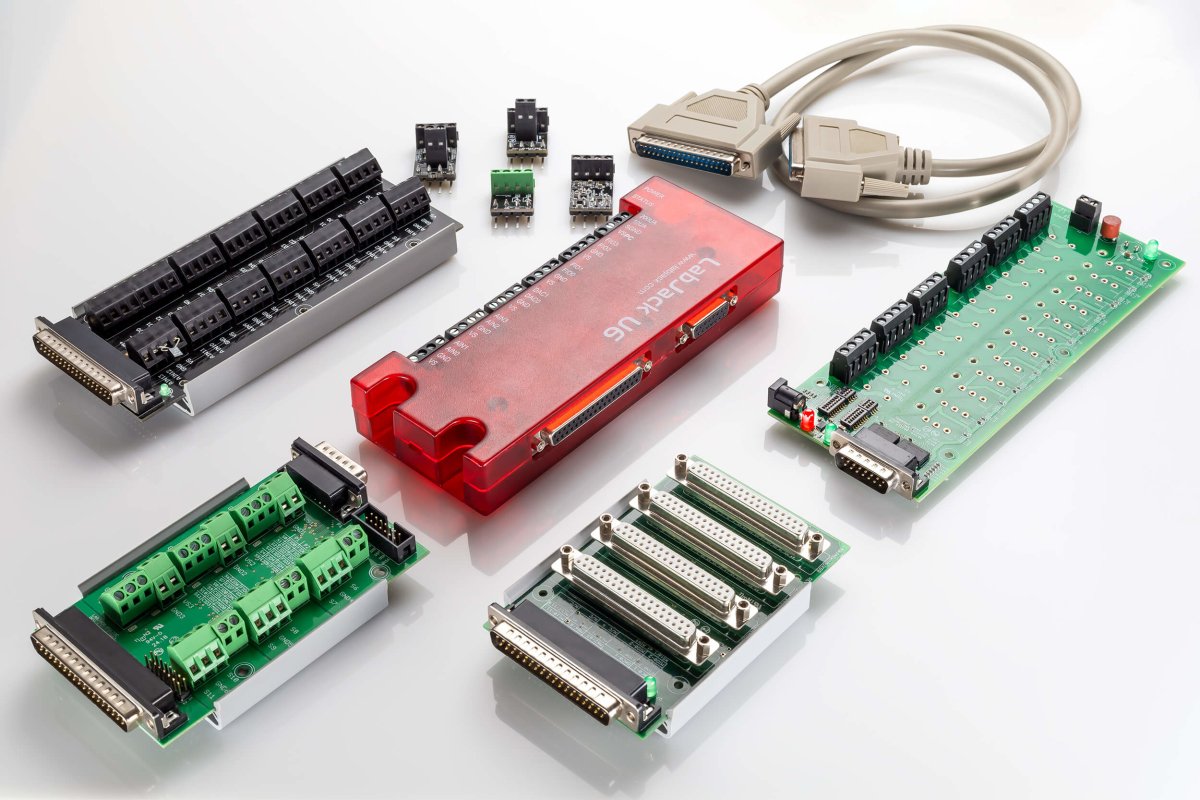
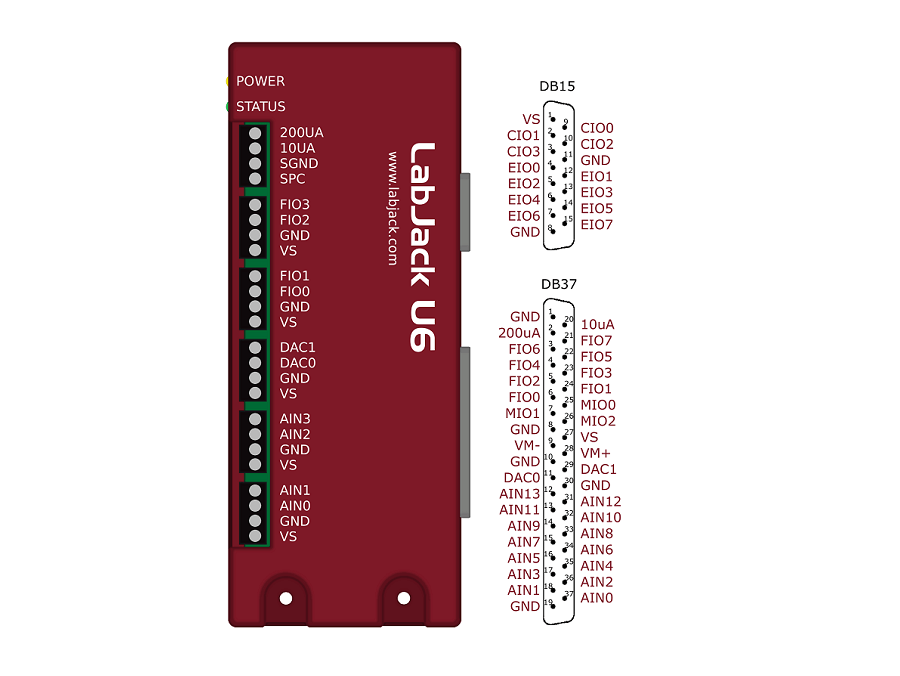
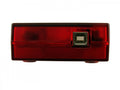
Multifunction DAQ with DB15 and DB37 Connectors

Product Specs
Support Resourses
U6 Product FAQs
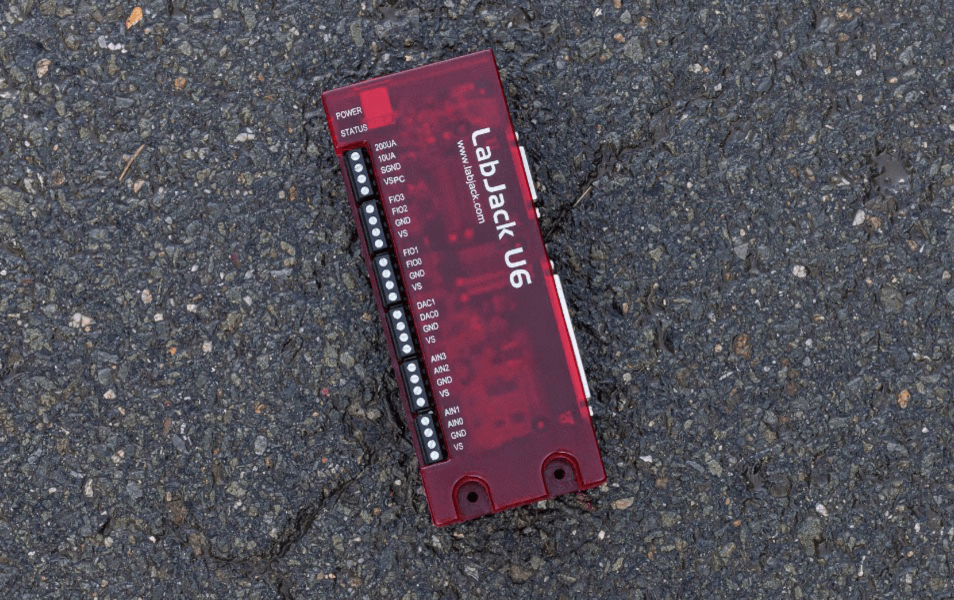
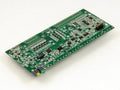
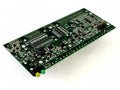
U6 Craftsmanship
Exceptional price and performance

Easily Expandable
High Channel Count? Expand up to 84 Analog Inputs with affordable accessories
Explore morePowerful Digital I/O Capabilities
20 Digital I/O, Supporting SPI, I2C & More, PWM Outputs, Frequency Inputs, Counters, Timers and many more Extended Features
Explore more14 Analog Inputs
Analog input ranges: ±10V, ±1V, ±0.1V and ±0.01V 16-bit high-speed ADC (up to 100k samples/s)
Explore moreTemperature Sensor
The LabJack U6 has a temperature sensor located very close to the AIN0-AIN3 screw-terminals. Accuracy is ±2 degrees C (max). This sensor is particularly useful for thermocouple cold junction compensation (CJC).
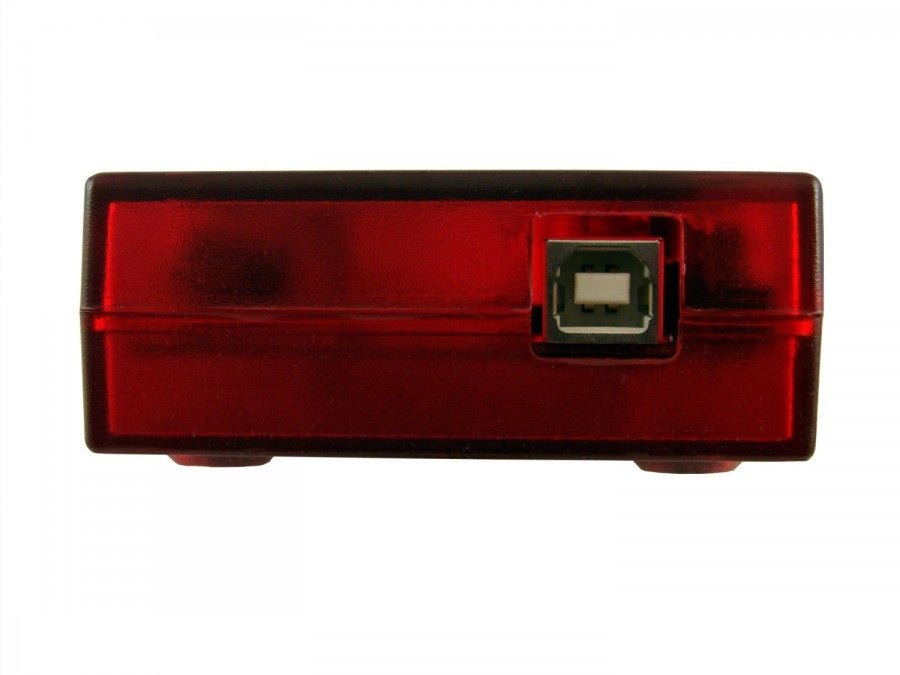
Explore moreUSB Connection to Your Computer
The U6 has a full-speed USB 2.0 connection compatible with USB version 1.1 or later. This connection provides communication and power (Vusb). USB ground is connected to the U6 ground (GND), and USB ground is generally the same as the ground of the PC chassis and AC mains.
Explore more